.jpg)

 Posts
Posts


Kobbari Pachadi -- Fresh Coconut Chutney ~ Sweet, Spicy and Tangy!!!
4 COMMENTS Posted by KALVA at 8:44:00 PMCoconut and Tamarind In Fresh Coconut Chutney is a delicious marriage made in my mom's kitchen! Yep Coconut and tamarind gel so well in this tangy spicy fresh coconut chutney. I remember my first culinary adventure started with this coconut chutney and potato fry during my school days! This chutney is super simple yet tastes great! You can whip up this chutney in minutes and make sure you keep some of the chutney just for yourself before you bring it to the table, no kidding!! This chutney where Fresh coconut is ground with green chillies and tamarind and topped with tadka along with hing and curry leaves is definitely worth a try!!
Ingredients:
- 1/4 of a shelled coconut
- 2-3 green chillies
- 1 inch of tamarind
- 1 tsp cumin seeds
- 1 tsp mustard seeds
- 1 tsp urad dal
- 5 - 10 curry leaves
- 1 tbsp oil
- a dash of hing /asoeftedia
- salt to taste

Preparation:
- Chop fresh coconut into thin slices
- In a chopper/blender grind coconut, green chillies, tamarind and salt without adding any water( Note: Use pulse mode in the blender if you have one , and it should be roughly ground )
- In a separate kadai or pan do the tempering or tadka with oil, mustard seeds, cumin seeds and urad dal. Once the mustard seeds start to crackle switch off the heat and add curry leaves.
- Add the above tempering to the ground coconut and chilli chutney and mix everything together, adjust salt to taste and finish it off with cilantro( optional )

This chutney tastes so good with steaming hot rice along with some ghee/ butter. You even have this chutney along with Dosa, Idly, Upma, Pongal or anything you would like to! Don't plan on storing the leftover chutney as you wouldn't end up with some.. yep its that good.. Never forget to add the tempering as it adds so much depth and flavor to the already delicious Fresh Coconut Chutney.
Pulihora ~ Rice seasoned with Spicy Tangy Tamarind and Sesame Seeds Sauce
10 COMMENTS Posted by KALVA at 1:05:00 AMHave you ever craved for the Spicy Tangy Prasadam( Naivedyam ) which we get at any Indian Temple? Yes i am talking about Pulihora, Rice spiced with tamarind and simple spices. I am sure almost every South Indian temple serves Pulihora along with Daddojanam as naivedyam ( offering / prasadam ). We used to travel a lot during the holidays along with our grand parents and our vacation would cover a large number of temples and in every temple the most common and lip smacking prasad would be Pulihora. Pulihora is something you would definitely see in every South Indian Home during festivals. Grandma makes the best pulihora next to temple pulihora prasadam.
Oh this was the first thing i craved a lot when i was pregnant! My sister was so nice, when i told her that i was craving for pulihora( tamarind rice) , she mailed me a thick spicy Tamarind sauce aka Pulihora pulusu( secured with lots of tape ) along with Ravva Laddo, Kobbari Burfi etc., She asked me to refrigerate it and mix it with rice whenever required. It lasted for a month or so. Thanks sis!! So nice of her and we could never get enough Pulihora( at least for me and my sister ). We use tamarind for the sourness, peanuts , cashews and sesame seeds for nuttiness, jaggery/sugar for sweetness and of course chillies for the heat in this Pulihora. Cant ask for anything more in this pulihora( aka Tiger Rice., hehehe )
Ingredients required:
- 1 cup of tamarind juice ( extract from tamarind pulp )
- 1/3 cup peanuts
- 2 tbsp sesame seeds powder
- 5-10 green chillies according to taste
- sugar or jaggery( gur ) to taste
- curry leaves
- cilantro
- 1 tsp mustard seeds
- 1 tsp cumin seeds
- 1 tsp urad dal
- 1 tbsp chana dal
- 3-5 tbsp oil
- 16 cashewnuts
- First cook the rice according to rice instructions. I would like to add a little less water than usual, as i nee the rice to be separate and not sticky.
- Once cooked let it cool on a mixing bowl or big plate, add turmeric and leave it to dry in open air.

How to make Pulihora Pulusu( Tamarind Spicy Sauce ):
- In a kadai/ heavy bottomed pan, do the tadka ( popu) with oil. Once the oil is heated add mustard seeds, cumin seeds, urad dal, chana dal and peanuts and cashewnuts.
- When mustard seeds started to crackle and peanuts roasted add curry leaves, hing, green chillies followed by tamarind pulp and turmeric
- Once the pulusu ( sauce) starts to bubble and sesame seeds powder, salt, sugar/gur to taste.
- The sauce ( pulusu ) is done when oil starts to separate from the sauce. Add cilantro and the switch off the stove.
How to make Pulihora( Tamarind, Peanuts and Sesame seeds Spicy Rice )
- Once the tamarind sauce and rice are cooled, mix both of them together thoroughly. Adjust salt to taste. If you see that oil is not enough, heat oil in a separate pan and mix it with the rice. Please let the pulihora stand for at least one hour before relishing as this makes the rice absorb all the sauce completely.

I cant promise you the exact taste you get at the temples in India, but my pulihora would definitely satisfy your Pulihora cravings for sure!!! I am positive you cant get enough of this pulihora. The pulihora stays good for up to 3 days in the refrigerator and 1-2 days if left outside.
Dad likes to eat the pulihora with cooked chick peas( senagalu ) or boondi karas( chick pea fritters ). Grandma makes these urad dal vadas( lentil fritters ) along with pulihora. Oh an awseome combo!!
My grandmas Pulihora is on its way to:

P.S. Everyone has unique taste palette, so please adjust the ingredients according to your taste.
Kanchipuram Idly and Vellulli Karam -- A match made in Heaven
30 COMMENTS Posted by KALVA at 1:53:00 PMA healthy low fat nutritious breakfast commonly found in every south Indian house is the mighty Idly i.e, Steamed cakes made with fermented batter of Lentils and Rice. At our house at least 2-3 days a week Idli would be the breakfast. They were like white, very light and fluffy pillows of nutritional goodness. Oh my grandma makes the best fluffiest and lightest Idlies and they would melt in your mouth right away. I remember she used to steam in copper vessel which was so heavy and thick. She took so much effort by preparing the batter in a bigger mortar and pestle ( Rubbu Rolu ) unlike us using the electric blender or grinder. Love you Grandma.
Coming to this Kanchipuram Idly ( Kanchi Idly ) aka Steamed Vegetable Rice and Lentil Cakes, they are my all time favorite. Onions add crunch, chillies add spice, and cashew nuts add nuttiness and curry leaves add so much flavor to the idlies. Sometimes we used to ask mom to pack these for lunch to school as they taste good even cold unlike the plain Idlies. Vellulli karam( thellagadda karam ) is a garlic, curry laves and cumin flavored red chilli powder which takes minutes to make and goes great with dosa, idly, fried veggies and curries. For us nothing complements these Kanchi idlies better than this vellulli miram.
Ingredients for Kancheepuram Idly:
- 1/2 cup urad dal
- 1 cup idly ravva / uppudu ravva / cream of rice
- 1 carrot grated
- 2 onions chopped
- 4 green chillies
- 10 curry leaves
- 1 inch finely chopped ginger
- chopped cilantro
- 3 tbsp oil
- 1 tsp mustard seeds
- 1 tsp cumin seeds
- 1 tbsp chana dal / bengal gram
- 1 tsp urad dal / Black dal

Preparation of Kancheepuram/ vegetable Idly:
- Soak urad dal and cream of rice separately overnight
- Next morning grind urad dal to a very fine paste adding water, the natter should be ground to very smooth batter
- Drain off all the liquid from the ravva / cream of rice
- Mix the ground paste and ravva together along with salt( try to use your hands, it helps in fermentation )
- You can make regular plain idlis with this batter otherwise let it ferment for 5 more hours so that it turns out little sour because masala or vegetable idlis taste better when the batter is sour
- In a kadai or saute pan do the tempering aka tadka i.e., heat oil and add chana dal, cumin mustard seeds, cashew nuts, urad dal and chana dal. Once they start to pop add curry leaves and mix with the batter
- In the batter add chopped onions, chopped ginger, green chillies and carrot. Mix everything together and pour some batter in the idli moulds and steam cook for 15 - 20 mins. To check for doneness, wet your finger and touch the steamed idlies, if they don't stick to your hands they are done and ready to be served.
- Carefully remove the steamed rice and lentil cakes from the moulds with a flat spoon
Ingredients for Garlic chilli powder / Vellulli kaaram podi
- 1 cup red chilli powder
- 1/2 cup salt
- 10 curry leaves
- 3-4 garlic cloves with the peel on
- 1 tbsp jeera / cumin seeds

Preparation of Garlic chilli powder / Vellulli kaaram podi:
- In a blender add red chilli powder, jeera / cumin seeds, salt and grind to fine powder
- Add the remaining ingredients i.e, garlic cloves with the peel and curry leaves and grind well
- Do adjust salt and spice to taste. You can store this garlicky chilli spice powder for up to 2 weeks outside and couple of months in refrigerator
This delicious combo is on its way to:
- My Legume Love Affair - Ninth Helping (MLLA9) hosted by Laurie started by Susan
- Made For Each Other event hosted by Asvadha
- Eating with the Seasons: February
- Lentils Mela event hosted by Ashwini
- Original Recipe Culinarty Roundup

Dhaniyala Chenaga pappu Karam podi -- Aromatic Coriander seeds and Bengal Gram spice powder
2 COMMENTS Posted by KALVA at 6:30:00 PMI can proudly declare my mom makes the second best Dhaniyala Karvepaku karam aka Coriander seeds spice powder after my grandma( moms mom). Mom always makes sure a big packet of this aromatic spice blend to be first in my list of moms homemade goodies from India. Thanks Mom, you are the best!!

- 1 cup chana dal / pachi senaga pappu / bengal gram
- 1/2 cup urad dal / minapappu
- 1/2 cup coriander seeds / dhaniyalu
- 1/4 cumin seeds / jeelakarra
- 8-10 dry red chillies / endu mirapakayalu( adjust to your taste )
- marble sized tamarind / chintapandu
- 20 curry leaves / karvepaku
- 2-3 small garlic cloves with peel
- 1 tbsp oil
- In a pan heat oil and chana dal, urad dal, coriander seeds, jeera and red chillies
- Once the aroma of the coriander seeds starts to fill up the room and pulses/dals ( chana dal and urad dal ) are turned into golden brown add tamarind, garlic cloves and curry leaves.
- Fry for 30 sec and remove from heat
- Once the spice mixture is cooled, run the roasted spices in a blender( It can be little coarse ) along with salt.

- Colors Of Taste - Powders hosted by Smita
- My Legume Love Affair 7th Help hosted by Srivalli
- JFI Chickpea hosted by MS.
Indian Cooking Basics 101 -- The Goodness Of Ginger Garlic Paste
10 COMMENTS Posted by Kalva at 11:19:00 AMI am starting this new section 'Indian Cooking Basics 101', where in you can find the basic items that are frequently used in indian cooking. Here you can find the spice powders, pastes, and basic sauces. These are like building blocks of the Indian cuisine. Here goes the first one in the list -- Ginger Garlic Paste.. Indian cooking is incomplete without the mighty GG paste aka GINGER-GARLIC paste. Whether you are making chana masala or biryani , Ginger Garlic paste is a must for authentic Indian flavor. The ginger garlic paste has that earthy taste that raises the flavor quotient of many(Indian) dishes. In almost in every kitchen you will find GG paste stored in large quantities. It is very handy when you have GG paste in store as most of the recipes in indian cuisine calls for this paste. Since it takes time peeling the garlic and ginger , i would like to make a lot at once.


For Ginger Garlic Paste you need:
- 1 cup of peeled garlic
- 3/4 cup of peeled and chopped ginger
- 3-5 tbsp oil
- a pinch of turmeric
Method of preparation:
- Clean garlic and let it air dry or wipe off the water. Make sure theres no moisture left on the skin after cleaning with water.
- Peel ginger( use spoon for thin peels ) and chop into 1 inch cubes
- Peel garlic cloves and chop into half if they are large
- In a blender add ginger and garlic and grind to a smooth paste
- Add oil instead of water for it to grind easily( if water is added use it in 1-2 days )
- Once its done to a fine paste, store in an airtight container

GG paste is just nearly equal amounts of peeled ginger root and garlic grind together to a fine paste using oil and preserved with a pinch of turmeric. You can substitute oil with water, but then the paste wouldnt keep as long. Make sure you store it in an airtight container in the refrigerator or in the freezer.
Storing in freezer :
When storing it in the freezer if you save the paste as it is in a jar it would become a big blog and would be hard to use a little bit of it. Try this way instead, fill a freezer safe ziploc bag with the ginger garlic paste and pat the bag to make a thin layer of the paste and then freeze, so whenever you want you can just crack it and use.
Tags: Allam vellulli paste, Allam Yellipaya, GG paste
Spicy Pan Fried Cashewnuts( Masala Jeedipappu/Chatpata Kaju )
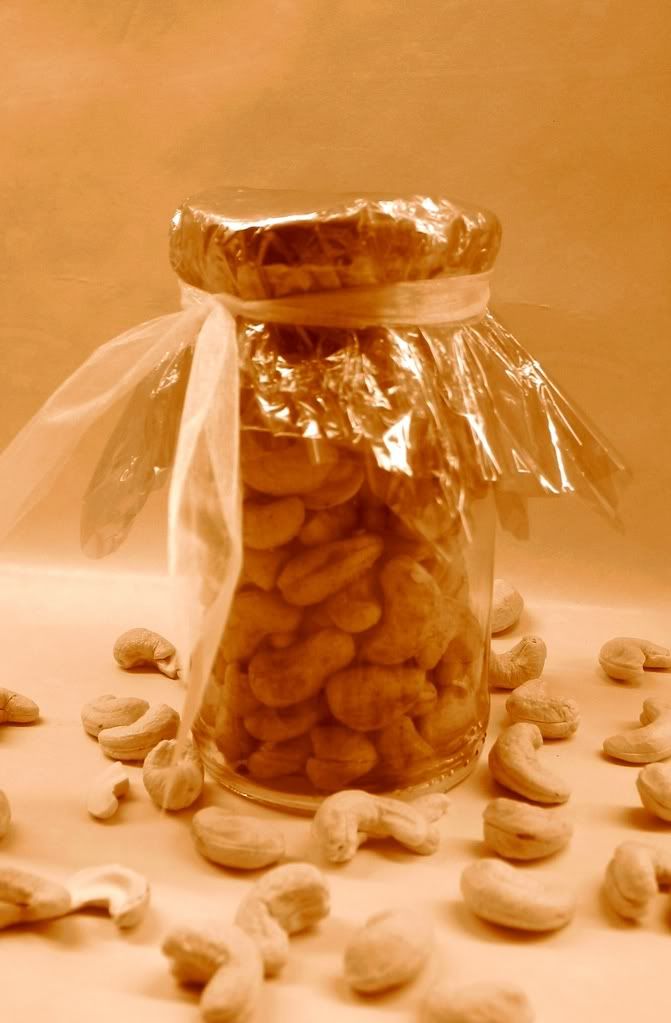
45 COMMENTS Posted by KALVA at 3:55:00 PMNothing is more comforting than a bowl of hot toasted spicy cashews( cashew nuts ). This a very special savoury snack back home which is a classic recipe passed down from generations! Gifting with a small pack of these cashew nuts makes someone feel so special and important. My mom showers her love towards my dad just by making these and serving them hot! All i can say she is an expert doing this. Cashewnut is the king of all nuts( at least for me ) since this is dear hubby's favorite. These spicy cashews are perfect kodak moment for CLICK . Hence this will be my entry for the beautiful CLICK : NUTS event hosted by Jai and Bee of Jugalbandi.
The nuts are so crunchy with the special zing from red chili powder and amchur powder, Frying them in ghee( neyyi aka clarified butter ) makes them so rich in taste( who wouldn't love butter ) . This is a perfect SNACK anytime of the day with a cup of hot tea! Once tasted your guests will leave asking for more and Yes they go real fast!!
You need:
- 1/2 pound whole cashew nuts -- I prefer to use whole cashew nuts ( jeedi pappu bollalu )
- 1/2 tsp red chili powder
- 1/2 tsp black pepper powder
- 1/2 tsp dried mango powder( amchur powder )
- 2-3 tbsp butter or ghee( clarified butter )
How to make spicy cashew nuts:
- Heat butter/ghee in kadai or pan and fry the cashew nuts under low flame
- As the cashew nuts turn into golden hue, drain them on to paper napkins and sprinkle salt, chili powder, black pepper powder and mango powder immediately
- You can adjust salt and spice to taste.
- Once cooled store in an airtight container. This stays fresh at least up to 10 days.
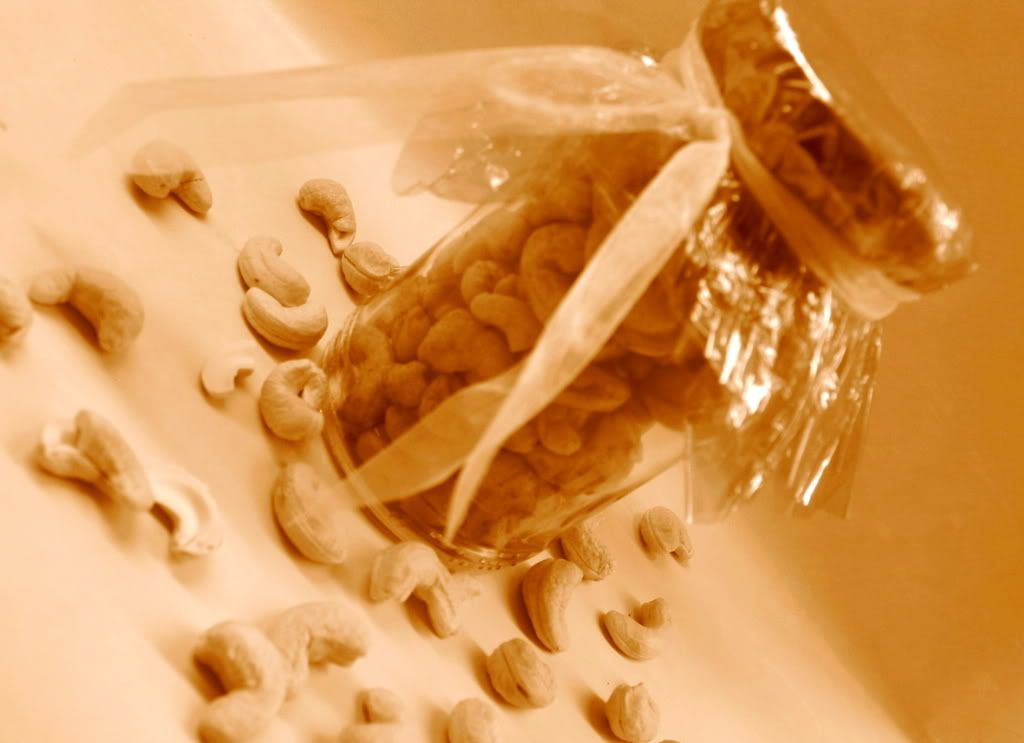
Wrap up these spicy, nutty and crunchy cashew nuts in a glass jar and voila simple yet delicious gift is ready! This spicy pan fried cashew nuts recipe is on its way to Spoonful Of Christmas, hosted by Zlamushka!


